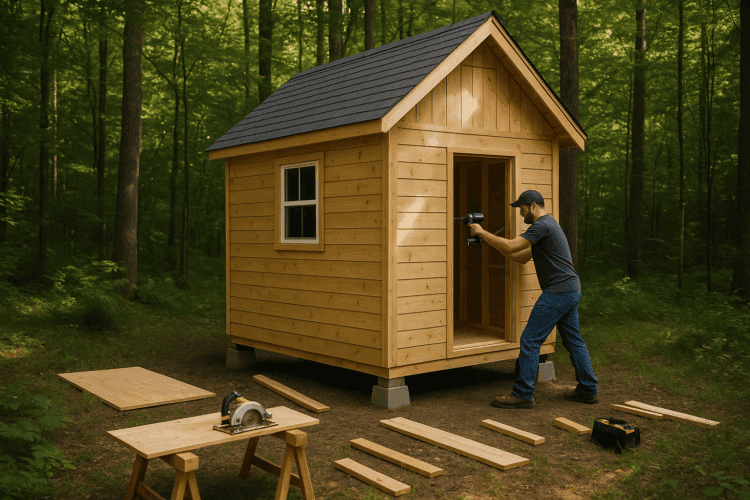
Building a tiny house can be simple if you start with a pre-built tiny-home kits from Home Depot. or Amazon. These kits are delivered to your site, partially constructed, saving you time and effort. But before the shell arrives, there are a few critical steps to follow.
Step 1: Prepare the Site
First, choose a flat, stable location with easy access for a delivery truck. Clear the land of weeds, rocks, and debris. Make sure the site meets local zoning and building codes. Check if you need a permit before moving forward.
Step 2: Build a Foundation
A strong foundation is key. Most tiny house shells work best with a concrete slab, gravel pad, or concrete pier blocks. If using pier blocks, space them evenly and make sure they’re level. This keeps your structure stable and prevents moisture damage. Have the foundation ready at least a week before delivery to allow curing time if using concrete.
Step 3: Delivery Day
Once the shell arrives, inspect it. Look for cracks, damage, or missing parts. Make sure it’s set firmly on the foundation. Secure it down to avoid shifting from wind or weather.
Step 4: Plan the Interior
Now it’s time to design the inside. Sketch out where you’ll place your kitchen, bathroom, sleeping area, and storage. Measure carefully to avoid mistakes. Most tiny homes work best with built-in furniture and multi-use spaces.
Step 5: Install Insulation
If the walls and ceiling are open, now is the time to add insulation. Use foam board, spray foam, or fiberglass batts depending on your climate. Insulation keeps the space warm in winter and cool in summer.
Step 6: Run Plumbing and Electrical
Next, install wiring for lights, outlets, and appliances. Add plumbing lines if you’re including a sink, shower, or toilet. You may need to hire a licensed electrician and plumber depending on local regulations.
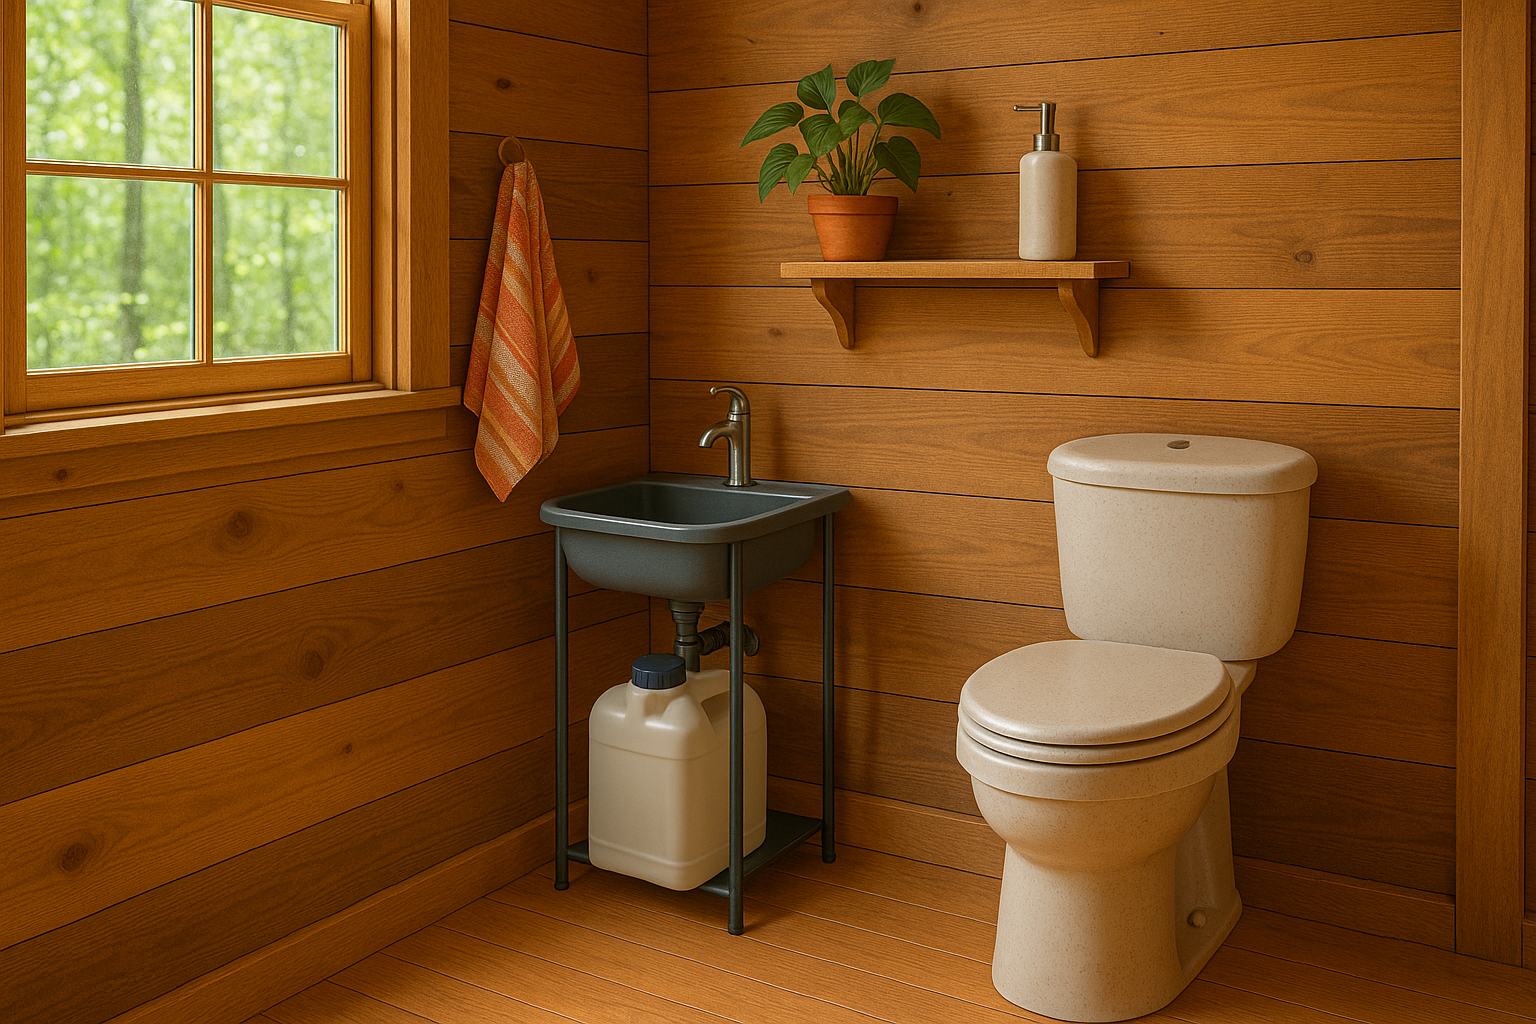
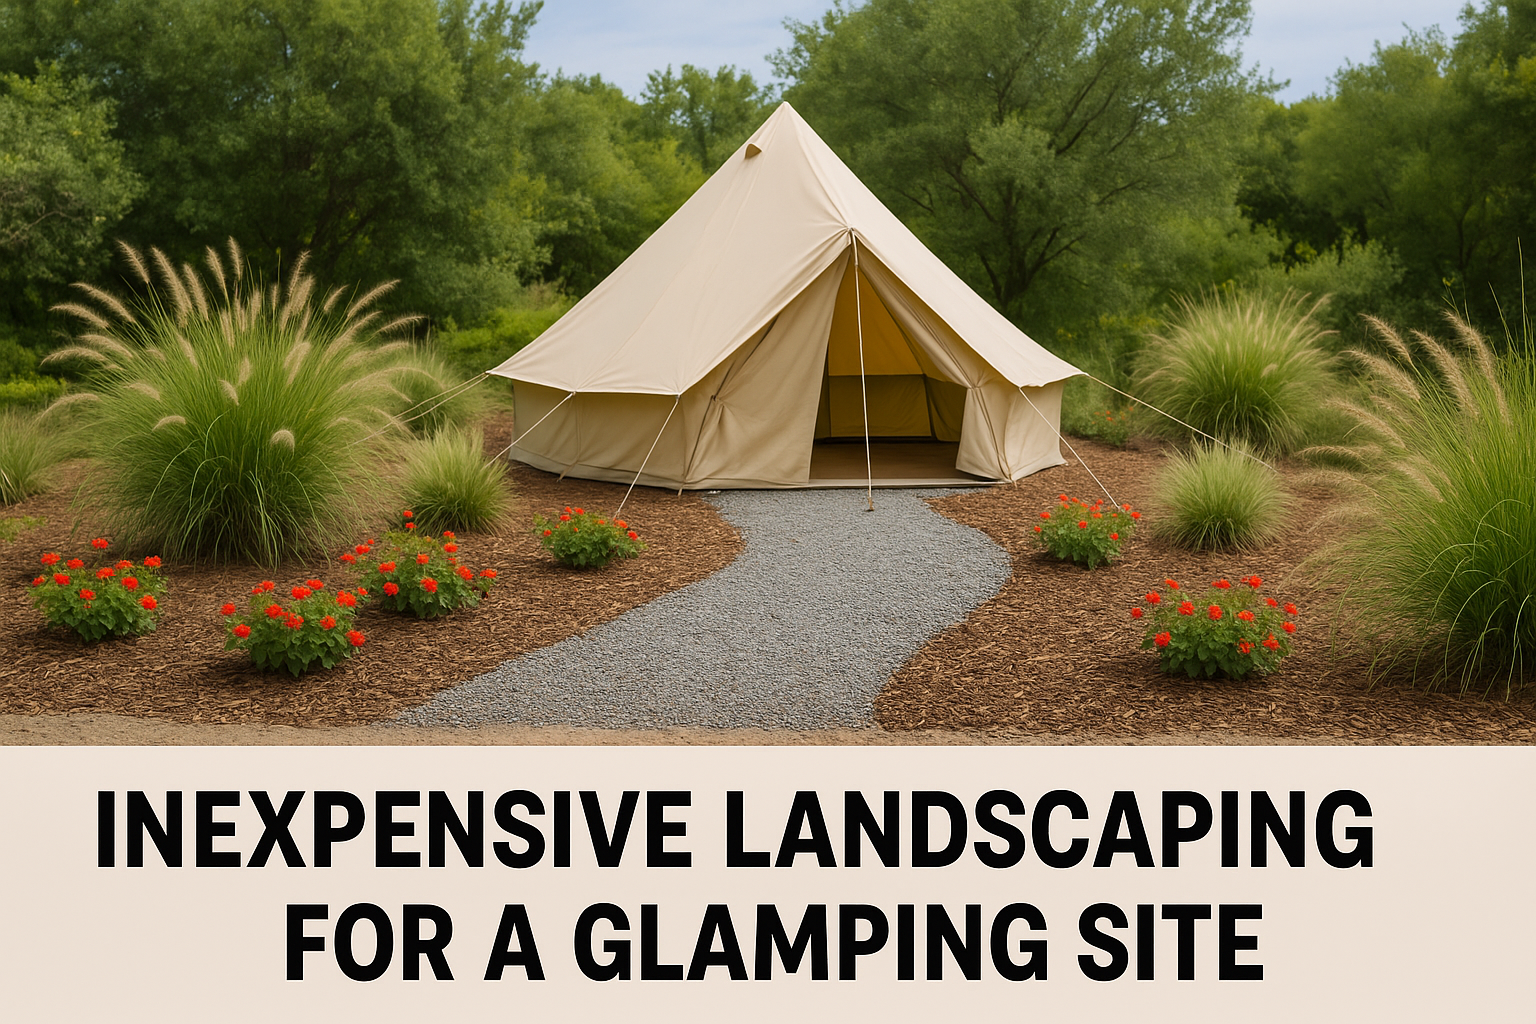
If you opt for a rustic tiny home in the wood, take a look at solving glamping challenges to avoid electrical and plumbing issues.
Step 7: Add Walls and Flooring
Once utilities are in place, cover the interior with wall panels or drywall. Then install flooring—vinyl, laminate, or even hardwood. Keep it lightweight and durable.
Step 8: Set Up the Kitchen and Bath
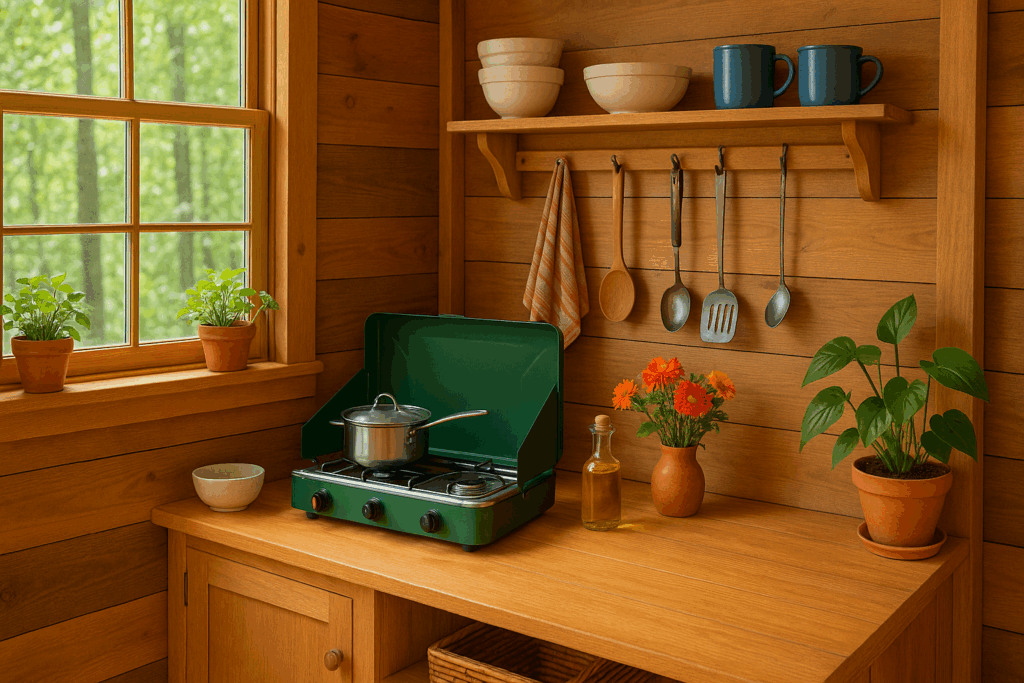
Install cabinets, a sink, a compact stove or cooktop, and a fridge. If you have a bathroom, add your shower, compost toilet, and small vanity. Use water-saving fixtures to reduce waste.
Step 9: Final Touches
Paint the walls. Add trim, curtains, and storage shelves. Install solar panels or connect to local utilities. Add exterior stairs or a small porch if needed.
Step 10: Move In
Once your space is secure, cozy, and functional, it’s time to enjoy the tiny house lifestyle. Whether off-grid or hooked to local services, your new home is ready to support simple, affordable living.
With a Home Depot shell and a little planning, building your own tiny house is not only possible—it’s rewarding and practical.
If you are planning on renting your tiny house, then read the article on How to Post Your Property on Airbnb and Get More Bookings And if you need help finding cheap land, check out the article on Where to Find Cheap Land for Glamping: From Dirt to Dollars